Changing the Battery on a Kannad XS-ER PLB
Changing the Battery on a Kannad XS-ER PLB


This type of PLB from McMurdo & Kannad has a battery pack designed to be changed by the end user. It isn't necessary to send it to a Service Agent for service.
The part number for the battery kit is now 85-763-020A. Your user manual may refer to a previous version of the battery 85-720-004, but that unit is now discontinued, in favour of this new battery kit.
The Kit contains the replacement battery, plus two new sealing rings for the battery terninals on the PLB, and a new retaining screw.
To fit the new battery, you'll require a flat-head screwdriver for the retaining screw, that's it!
Once the service has been completed, please responsibly dispose of the old battery. Most recycling centres accept Lithium Metal batteries
Step-by-step Battery Change Guide
Step-by-step Battery Change Guide
The steps below will take you through how to replace the battery and test the PLB once done. PLEASE NOTE, these images were taken in 2016. The date on the replacement battery pack will be newer, we keep the new Expiry Dates up to date on our web listings*
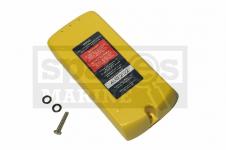
The Contents:
McMurdo Kannad Battery Kit
(part number 85-763-020A)
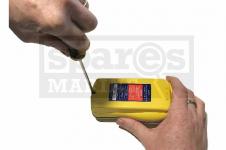
Step 1:
Remove the battery retaining screw at the base of the PLB
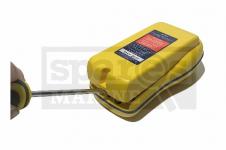
Step 2:
Use your screw driver to gently lift the battery, then it will come out easily
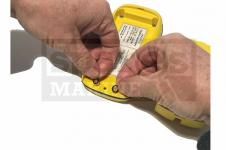
Step 3:
Remove and discard the O-rings. There are new ones in the kit
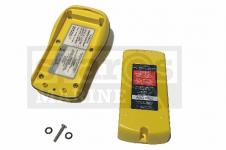
Step 4:
You now have the new battery pack, O-rings and retaining screw ready
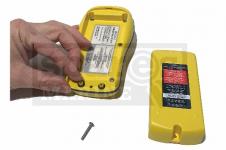
Step 5:
Inspect the battery terminals for damage, then insert the new O-rings
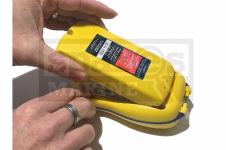
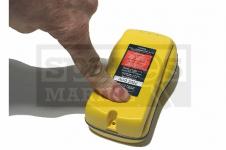
Step 6:
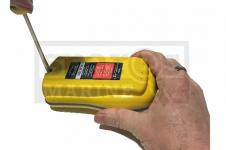
First locate the battery at the top, there is a locatin lug
Step 7:
Firmly press down at the base of the battery pack to locate it on the terminals
Step 8:
Insert the new retaining screw. Do not over-tighten (25 cNm max)


Step 9:
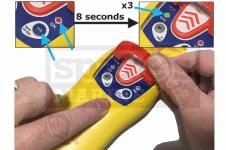
Open the flip top lid to access the test button for performing the self test
Step 10:
Gently lift the red tab to expose the test button. Do not pull it off
Step 11:
Press and Hold the TEST button for approximately 8 seconds
While the button is pressed for the test, the RED "ON" indicator will light up. On completion of the test (after approximately 8 seconds), the "GPS" Indicator will flash GREEN 3 times, and there will be 3 audible buzzes. The test has completed successfully.
If the self test sequence fails, try testing again. If it fails a second time, try removing and re-seating the battery. If the problem persists, please contact us
*NB: The images above are the property of Spares Marine - copying or re-producing for commercial purposes is forbidden by copyright law.
How to Purchase, or if you have any Questions
How to Purchase, or if you have any Questions

